24 Hour Service - 7 Days a Week


Are you tired of dealing with frustrating plumbing leaks that seem to pop up out of nowhere? Don’t fret, because we’ve got you covered. In this article, “Stop the Drip: How to Quickly Fix Plumbing Leaks,” we will show you the best tips and tricks to put an end to those annoying drips and leaks once and for all.
Whether it’s a leaky faucet, a burst pipe, or a faulty valve, plumbing leaks can cause significant damage if left unattended. That’s why it’s essential to address them promptly to prevent further issues down the line.
In this comprehensive guide, we’ll walk you through the steps of identifying and fixing common plumbing leaks. From simple DIY solutions to when it’s time to call in the professionals, we’ve got everything you need to know to fix plumbing leaks head-on and restore your pipes to their full functionality.
So, say goodbye to the constant drip-drip-drip and gain the know-how to become your plumbing hero. Read on to learn how to quickly fix plumbing leaks and regain peace of mind in your home.
The importance of fixing plumbing leaks
Plumbing leaks can lead to water damage, mold growth, and even structural damage to your home. The longer a leak persists, the more extensive the damage can become. Additionally, leaks can result in wasted water, leading to higher utility bills and an unnecessary strain on the environment.
Fix plumbing leaks quickly to save yourself from costly repairs and ensure the longevity of your plumbing system.
Common signs of plumbing leaks
Before we dive into the steps to fix plumbing leaks, it’s crucial to be able to identify them. Here are some common signs that indicate you may have a leak:
1. Water stains: Look for discolored patches or water stains on walls, ceilings, or floors. These are often signs of a hidden leak.
2. Musty smell: If you notice a musty odor in your home, it could be a sign of mold growth due to a hidden leak.
3. Unexplained water puddles: If you find water puddles in areas where there shouldn’t be any, it’s likely there’s a leak in the vicinity.
4. Low water pressure: A sudden drop in water pressure could indicate a leak somewhere in the plumbing system.
5. Increased water bills: If your water bills have been consistently higher without any change in usage, it could be due to an undetected leak.
By being aware of these common plumbing problems, you can catch plumbing leaks early and address them before they worsen.
Tools and materials needed for fixing leaks
Before you start to fix plumbing leaks, it’s essential to gather the necessary tools and materials. Here are some common items you’ll need:
1. Adjustable wrench: This tool will help you loosen and tighten various plumbing fittings.
2. Pipe wrench: A pipe wrench is essential for working with pipes and fittings that require more gripping power.
3. Plumber’s tape: Also known as Teflon tape, plumber’s tape is used to create a watertight seal on threaded fittings.
4. Plunger: A plunger is useful for clearing clogged drains and toilets.
5. Plumbing putty: This material is used to create a watertight seal around fixtures such as sinks and tubs.
6. Pipe cutters: If you need to replace a section of pipe, pipe cutters will help you make clean and precise cuts.
7. Leak repair tape: Leak repair tape, also known as self-fusing silicone tape, is an excellent temporary fix for small leaks.
8. Rubber gloves: It’s always a good idea to protect your hands when working on plumbing repairs.
Having these tools and materials readily available will make the process to fix plumbing leaks much smoother.
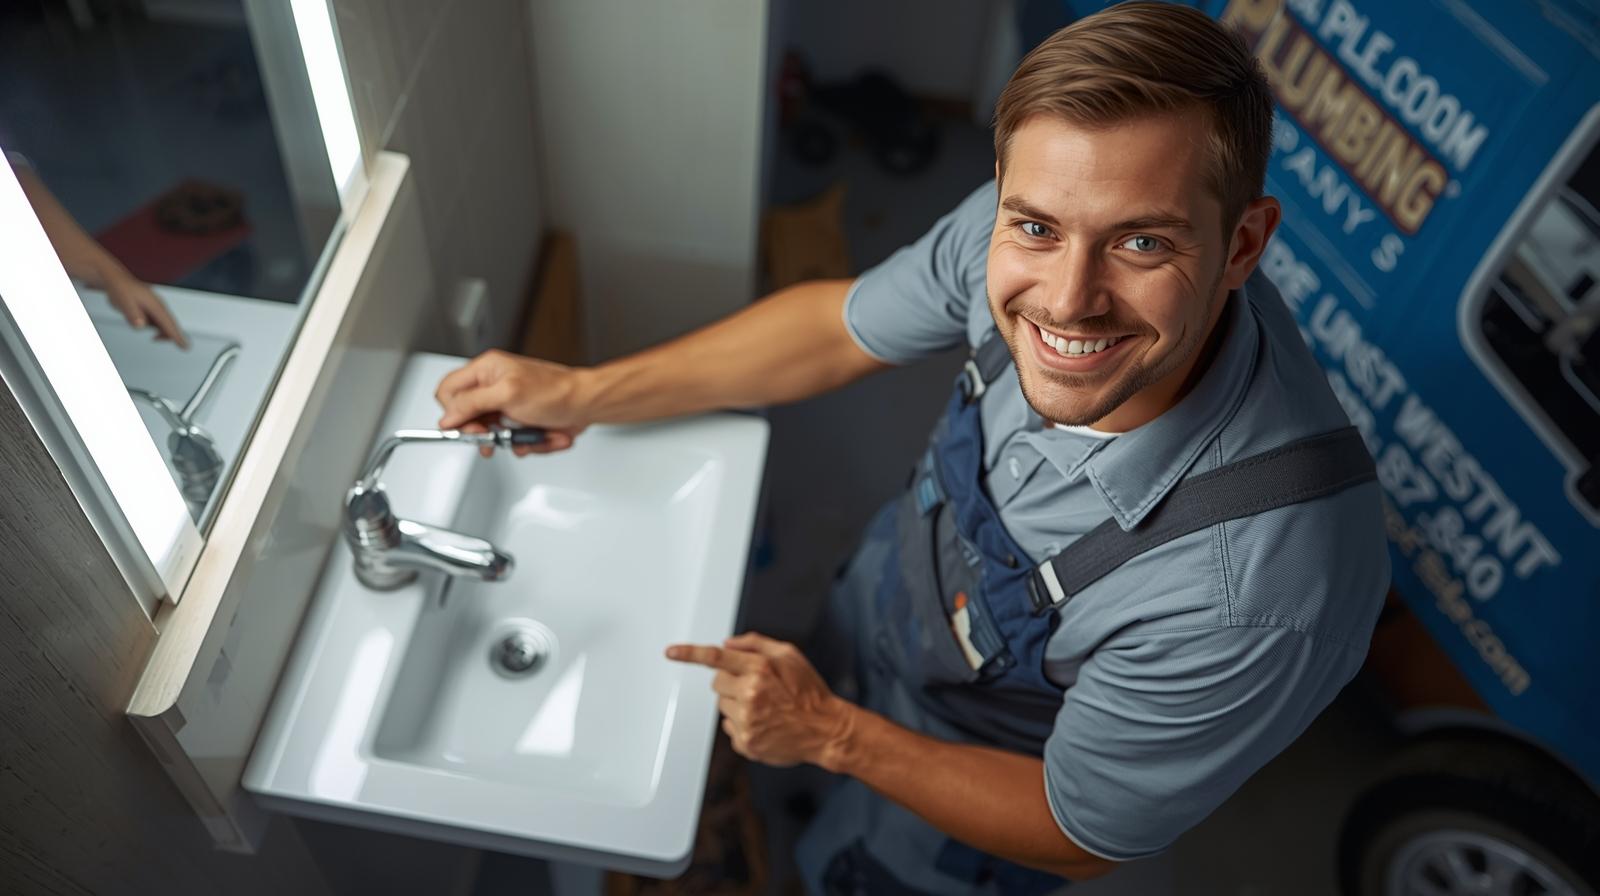
A dripping faucet is not only annoying but can also waste a significant amount of water over time. Here’s how you can perform water leak repair and fix it:
1. Turn off the water supply: Before you begin any repairs, shut off the water supply to the faucet. This is usually done by turning the valve located under the sink.
2. Remove the faucet handle: Depending on the type of faucet, you may need to remove a decorative cap or screw to access the handle. Once exposed, use an adjustable wrench to loosen and remove the handle.
3. Inspect the cartridge or valve: Check the cartridge or valve for any signs of damage or wear. If necessary, replace it with a new one.
4. Replace worn-out parts: Inspect the O-rings, washers, and seals for any signs of damage. Replace them if needed.
5. Reassemble the faucet: Put the faucet handle back in place, ensuring everything is tightened securely.
6. Turn on the water supply: Once you’ve reassembled the faucet, turn on the water supply and check for any leaks. If everything looks good, congratulations – you’ve successfully fixed a dripping faucet!
Remember to turn off the water supply before starting any repairs to avoid any accidents or water damage.
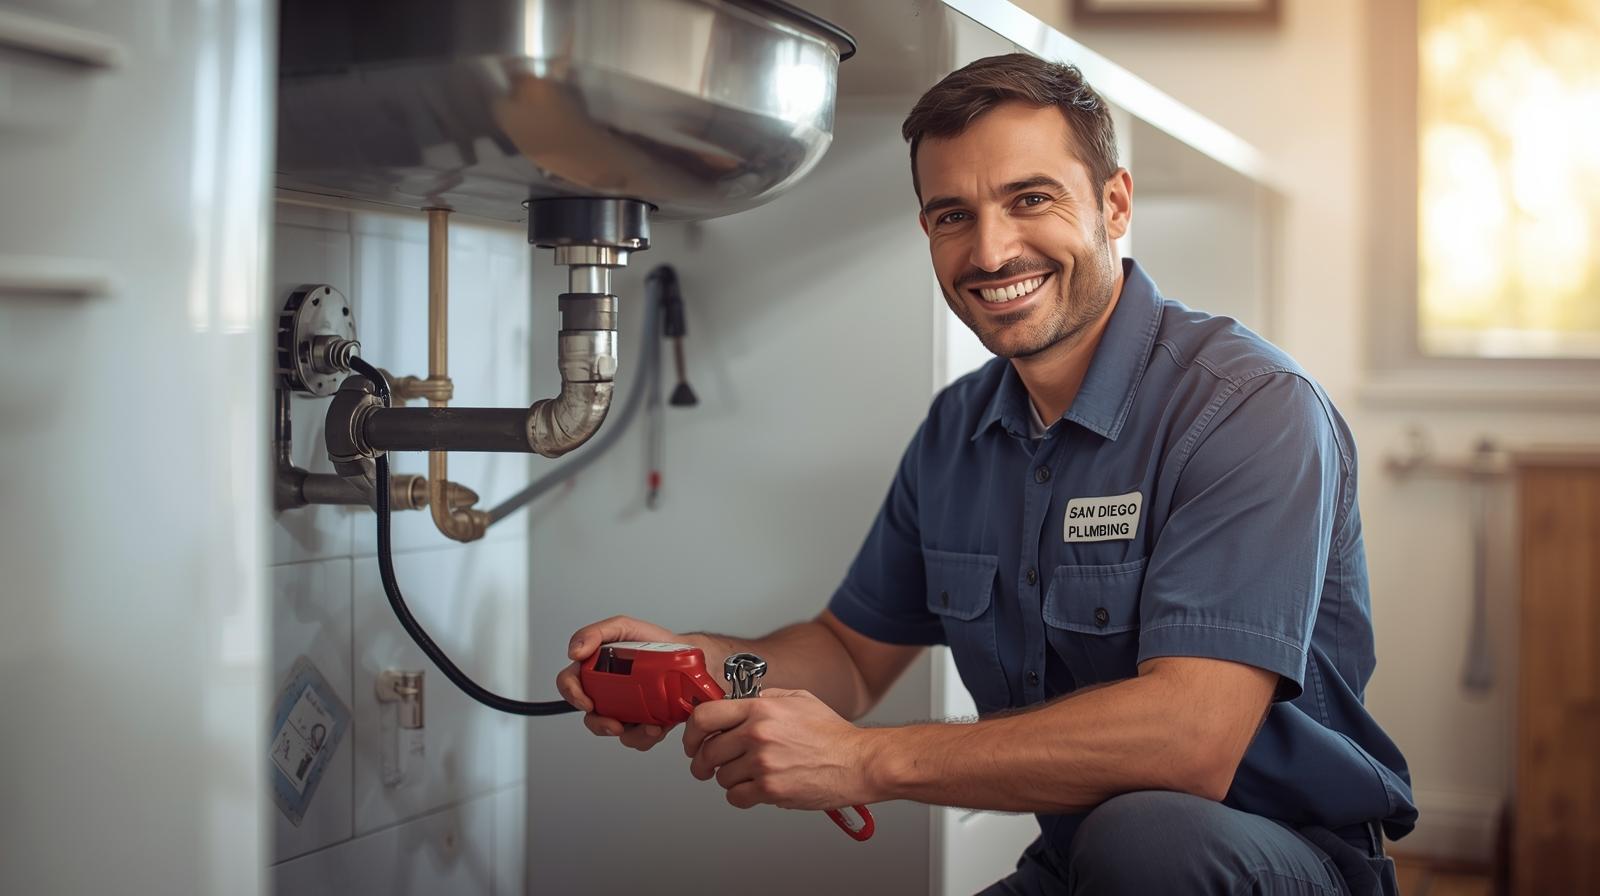
A leaking pipe can quickly escalate from a minor annoyance to a major problem. Here’s how you can fix it:
1. Turn off the water supply: Before attempting to repair a leaking pipe, turn off the water supply to prevent further leakage.
2. Locate the source of the leak: Inspect the pipe and identify the exact location of the leak. Dry the area thoroughly to ensure accurate repairs.
3. Apply leak repair tape: Wrap leak repair tape tightly around the leaking area. Start a few inches before the leak and continue a few inches past it for a secure seal.
4. Check for leaks: Once you’ve applied the tape, turn on the water supply and check for any signs of leakage. If the tape holds, you’ve successfully fixed the leaking pipe.
While leak repair tape is a temporary fix, it can take you some time before a permanent solution is implemented.
A leaking toilet can waste a significant amount of water and lead to higher water bills. Here’s how you can fix it:
1. Identify the source of the leak: Determine if the leak is coming from the tank or the bowl. A simple way to check is by adding food coloring to the tank and waiting to see if it appears in the bowl without flushing.
2. Replace the flapper valve: If the leak is coming from the tank, it’s likely due to a faulty flapper valve. Drain the tank, remove the old flapper valve, and replace it with a new one.
3. Check the fill valve and float: If the leak persists, inspect the fill valve and float for any signs of damage or misalignment. Adjust or replace them if necessary.
4. Inspect the wax ring: If the leak is coming from the base of the toilet, the wax ring may be damaged. Replace the wax ring by removing the toilet, installing a new wax ring, and reinstalling the toilet.
Fixing a leaking toilet may require some basic plumbing skills, but with patience and the right tools, it can be a manageable task.
While taking preventive measures is essential to avoid future leaks altogether, it’s equally crucial to be prepared to fix plumbing leaks promptly when they do occur. Here are some tips to keep your plumbing system in tip-top shape:
1. Regular inspections: Conduct periodic inspections of your plumbing system to identify any potential leaks or issues before they worsen.
2. Proper maintenance: Follow manufacturer guidelines for maintaining your fixtures and appliances, such as regular cleaning and lubrication.
3. Avoid excessive water pressure: High water pressure can strain your pipes and increase the likelihood of leaks. Consider installing a pressure regulator if your water pressure is consistently high.
4. Insulate pipes: Insulating exposed pipes in colder areas of your home can prevent them from freezing and potentially bursting.
5. Be mindful of what goes down the drain: Avoid flushing or draining items that could cause clogs or damage to your pipes, such as grease, hair, or large food particles.
By implementing these preventive measures, you can minimize the risk of future plumbing leaks and save yourself from unnecessary headaches and expenses.
While many plumbing leaks can be fixed with some basic knowledge and tools, there are instances when it’s best to call a professional plumber to expertly fix plumbing leaks. Here are some situations when professional intervention is recommended:
1. Major water leaks: If you’re dealing with a significant water leak that you can’t contain or control, it’s crucial to call a plumber immediately.
2. Complex repairs: Some plumbing issues, such as extensive pipe replacements or sewer line repairs, require specialized knowledge and equipment that only professional plumbers possess.
3. Safety concerns: If a plumbing issue poses a safety risk, such as a gas leak or an electrical hazard, it’s best to leave the repairs to a professional who can handle the situation safely.
4. Lack of experience or knowledge: If you’re unsure about how to proceed with a plumbing repair or feel uncomfortable working with certain tools or materials, it’s better to seek professional help.
Remember, it’s always better to be safe than sorry when it comes to plumbing repairs. Professional plumbers have the expertise to handle complex issues and ensure the repairs are done correctly.
Need emergency plumbing assistance now? Call Us for 24-hour emergency plumbing services or Find Us on Facebook
Deciding whether to fix plumbing leaks yourself or hire a professional depends on several factors. Here are some considerations to help you make an informed decision:
1. Skill level: If you have the necessary skills and knowledge to handle the repair confidently, DIY may be a viable option. However, if you’re unsure or lack experience, it’s best to leave it to the professionals.
2. Time and availability: DIY repairs can be time-consuming, especially if you’re unfamiliar with the process. Consider whether you have the time and availability to dedicate to the repair.
3. Cost: DIY repairs can save you money on labor costs, but it’s important to weigh that against the potential risks and the need for specialized tools or materials.
4. Complexity of the repair: Some plumbing repairs are more complex than others and may require professional expertise. Assess the complexity of the repair and determine if you’re comfortable taking it on yourself.
Ultimately, the decision to perform DIY repairs or hire a professional comes down to your confidence, availability, and the specific circumstances of the repair.
Conclusion
Plumbing leaks can be a nuisance, but with the right knowledge and tools, you can quickly repair them and regain peace of mind in your home. By promptly addressing leaks, you can prevent further damage, save money on repairs, and contribute to a more sustainable environment.
Remember to be proactive in identifying and fixing plumbing leaks, and don’t hesitate to call a professional when needed. By following the steps outlined in this guide, you’ll become your own plumbing hero and put an end to those annoying drips once and for all. So, say goodbye to the constant drip-drip-drip and hello to a leak-free home!
Now that you have the knowledge to fix plumbing leaks head-on, it’s time to roll up your sleeves and start making those repairs. Good luck, and may your pipes flow smoothly!